 Save Pin
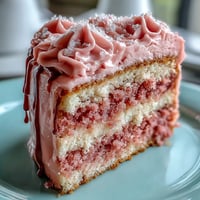
 My cousin asked me to bake her graduation cake three weeks before the ceremony, which meant I had time to actually practice the ombre technique instead of white-knuckling my way through it the night before. I'd seen these gradient layer cakes online and thought they looked impossibly fancy, but standing in my kitchen with four bowls of batter and gel food coloring, I realized the secret was just patience and a steady hand. The moment I pulled those four perfectly baked layers from the oven and saw how the colors had stayed vibrant and true, I knew this cake would be special enough to mark something that mattered.
When my cousin's friends saw that cake sitting on the dessert table, they actually stopped mid-conversation and stared. One of them whispered, 'Did you make that?' in a tone that made it clear they thought I'd ordered it from a professional bakery, which somehow felt better than any compliment.
Ingredients
- All-purpose flour: Use fresh flour from a new bag if possible, as older flour can affect rise and texture.
- Baking powder: This is what gives you those tender, light layers that stack without crumbling.
- Unsalted butter: Room temperature is non-negotiable here; cold butter won't cream properly with the sugar.
- Granulated sugar: This dissolves into the batter for an even crumb, unlike brown sugar which would add moisture and darkness.
- Eggs: Room temperature eggs mix into the batter more evenly and help create a stable emulsion with the butter.
- Vanilla extract: Use real vanilla, not imitation; you'll taste the difference, especially in a cake this delicate.
- Whole milk: Room temperature milk incorporates smoothly without shocking the warm batter.
- Gel food coloring: This is the game-changer; liquid coloring adds too much moisture and makes the colors muddy.
- Egg whites and sugar for buttercream: The slow heating and cooling process creates that signature silky, stable texture.
Tired of Takeout? 🥡
Get 10 meals you can make faster than delivery arrives. Seriously.
One email. No spam. Unsubscribe anytime.
Instructions
- Prepare Your Stage:
- Preheat your oven to 350°F and get four 8-inch round pans lined and ready; this cake needs all four layers baking at once. Having everything prepared means you won't be scrambling when the batter is mixed and ready to pour.
- Build the Dry Foundation:
- Whisk flour, baking powder, and salt together in a medium bowl, breaking up any lumps as you go. This step distributes the leavening evenly so every layer rises at the same rate.
- Cream Butter and Sugar:
- Beat softened butter and sugar together for 3–4 minutes until the mixture is pale and fluffy, which usually means you've incorporated enough air. This is where the cake's structure begins, so don't rush it.
- Add Eggs Carefully:
- Drop in one egg at a time, beating well after each addition so the mixture stays smooth and emulsified. If it looks a little broken or curdled, just keep beating; it'll come together.
- Alternate Your Wet and Dry:
- Start with the flour mixture, then milk, then flour again, mixing just until each addition disappears into the batter. Overmixing here develops gluten and makes the cake tough, so stop as soon as you don't see streaks.
- Create Your Ombre Palette:
- Divide Batter into Four Bowls:
- Split the batter evenly and tint each bowl with increasing amounts of gel coloring, from lightest to darkest. A toothpick works great for adding tiny amounts of color one drop at a time until you've got the gradient you want.
- Fill and Bake:
- Pour each colored batter into its prepared pan, smooth the tops, and slide them all into the oven. Bake for 22–25 minutes until a toothpick comes out clean and the tops spring back when you touch them.
- Cool With Patience:
- Let the layers rest in their pans for 10 minutes before turning them onto wire racks to cool completely. This gentle transition prevents them from cracking or breaking apart.
- Build the Buttercream Magic:
- Combine egg whites and sugar in a heatproof bowl and set it over simmering water, whisking constantly until the mixture reaches 160°F and feels hot to the touch. This pasteurizes the eggs and dissolves the sugar completely.
- Whip to Stiff Peaks:
- Transfer the hot mixture to a stand mixer and whip on high speed for about 10 minutes until you have thick, glossy, cool meringue. You'll see it transform from a warm liquid into billowing clouds.
- Incorporate the Butter:
- Add softened butter a few cubes at a time, beating well after each addition until the buttercream is smooth and silky. If it looks grainy or separated at any point, just keep mixing; it will come back together.
- Layer From Dark to Light:
- Place your darkest cake layer on the cake stand and spread a generous layer of buttercream on top. Stack the remaining layers in order from darker to lighter, creating that beautiful gradient effect as you build.
- Apply the Crumb Coat:
- Spread a thin layer of buttercream over the entire cake and pop it in the fridge for 20 minutes to set. This seals in the crumbs so your final frosting looks polished.
- Final Frosting and Decoration:
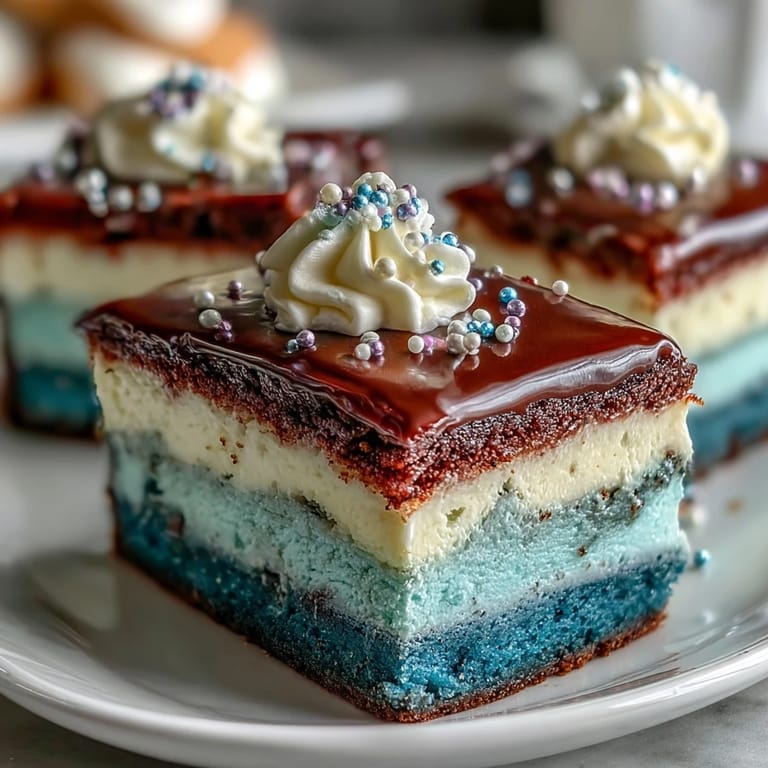
- Apply your final layer of buttercream, using an offset spatula to create a smooth finish or a more textured look as you prefer. Add pearls, a graduation topper, or piped details, then chill until set.
 Save Pin
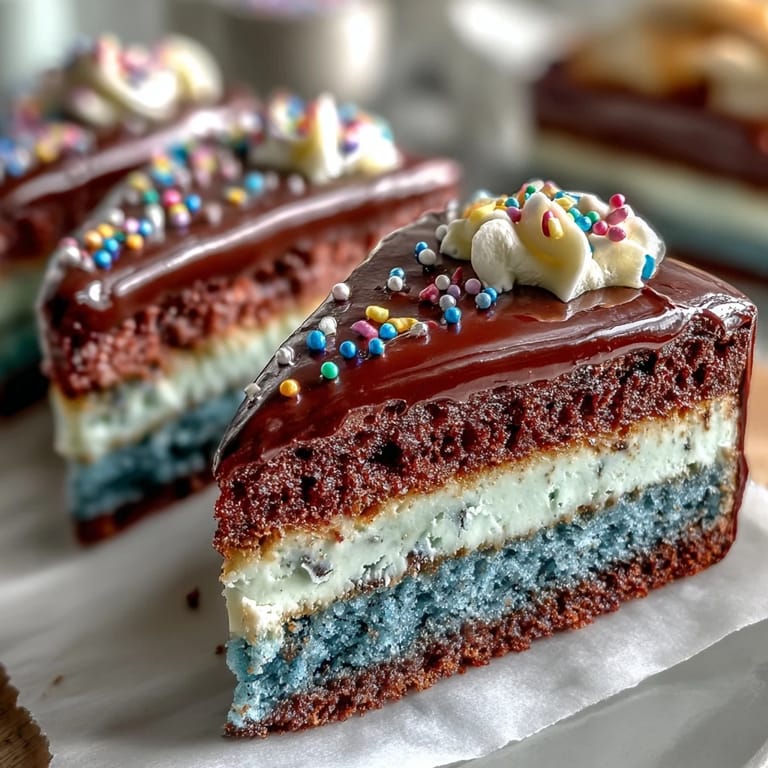
 At the graduation party, my cousin kept pointing people toward the cake, telling them I'd made it, and I watched her face every time someone took a slice and found those perfectly graduated colors inside. That's when I realized this cake was about more than showing off technique—it was about making someone feel celebrated on a day that deserved it.
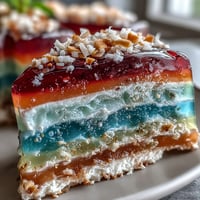
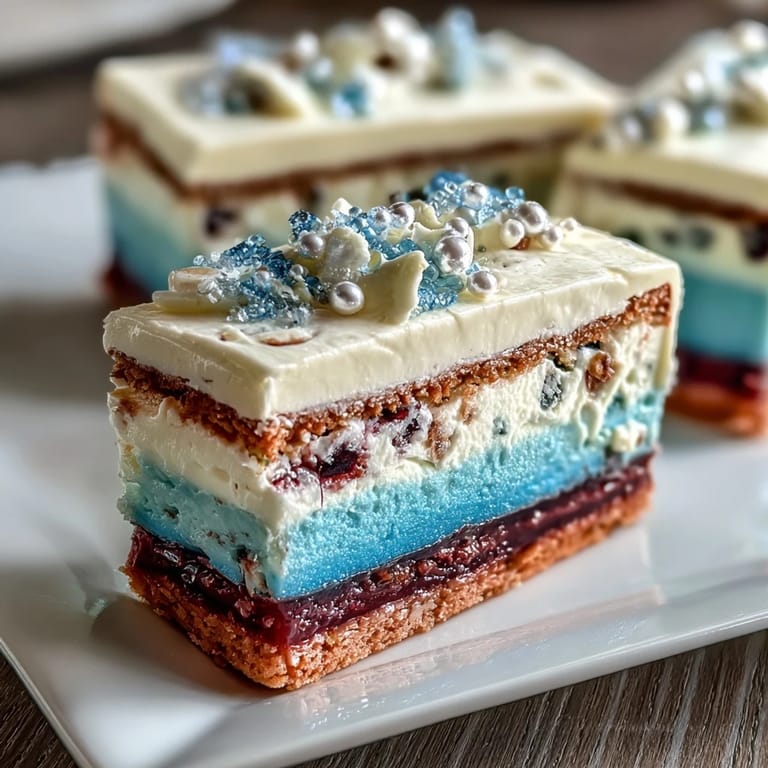
The Ombre Effect: Why It Works
The magic of ombre isn't about perfection; it's about subtle progression. When you divide your batter and add color gradually to each portion, you're creating a visual story that moves from one shade to the next without harsh lines. The beauty is that even if your color transitions aren't mathematically perfect, stacked layers naturally create this dreamy gradient effect that catches the light differently depending on the angle.
Timing and Make-Ahead Options
I've made these layers up to two days ahead and stored them wrapped tightly in plastic wrap; they stay moist and fresh. The buttercream can be made a day ahead and kept in an airtight container at room temperature, then you just assemble and frost the morning of the event.
Serving and Pairing Suggestions
This cake shines alongside something effervescent—sparkling cider, champagne, or even a crisp white wine cuts through the richness beautifully. Serve it at room temperature so the buttercream has that silky mouthfeel, and if you're slicing it ahead, use a thin, hot knife dipped in warm water between each cut.
- A fresh fruit compote on the side balances the sweetness and adds brightness.
- This cake actually travels well if you need to transport it; just keep it cool and assembled.
- Leftovers keep wrapped in the fridge for up to four days, and cold cake is honestly amazing.
 Save Pin
 Graduation cakes are really about marking a moment when someone steps into something new, and making this one from scratch means you're part of that celebration. Serve it with joy and watch people's faces light up.
Recipe Help & FAQs
- → How do I achieve the ombre effect in the cake layers?
Divide the batter into multiple bowls and add increasing amounts of gel food coloring to each, creating a gradient effect before baking.
- → What is Swiss meringue buttercream and how is it made?
Swiss meringue buttercream is a light, silky frosting made by heating egg whites and sugar, whipping to stiff peaks, and then blending in softened butter.
- → Can I use natural food coloring instead of gel coloring?
Gel food coloring is recommended for vibrant, intense colors that won't thin the batter, but natural colorings can be used with varying results.
- → How long should the cake layers cool before frosting?
After baking, cool the layers in their pans for 10 minutes, then transfer to wire racks to cool completely before applying frosting.
- → What decorations work well for this layered cake?
Edible pearls, themed toppers like caps or diplomas, and piped details complement the layered ombre colors beautifully.